Featured Case Study
The "Impossible" Leak in Joydens Wood
Three tradesmen looked at this en-suite and said the same thing: "There's no leak." There was. It just wasn't where anyone was looking.
The Problem
When Mrs. Patterson called us about her en-suite in Joydens Wood, she was frustrated. Three different tradesmen had already looked at it. "They all said the same thing," she told George. "The bathroom looks fine. There's no leak."
But there was a leak. She could smell the damp. The ceiling below was starting to discolour. And no one could find the source.
George arrived on a Tuesday morning. Within fifteen minutes, he'd identified what the others had missed: the leak wasn't coming from the pipes at all. It was coming from behind the tiles.
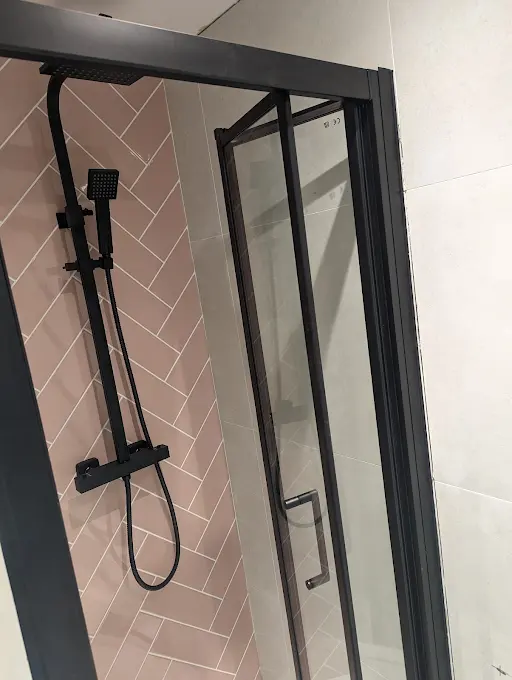
The shower enclosure had been installed five years earlier by a previous contractor. It looked immaculate — gleaming white tiles, chrome fixtures, spotless grout. But when George ran his moisture meter along the base of the shower tray, the readings told a different story. Water had been seeping through the grout lines for years, saturating the plasterboard behind the tiles, rotting the wooden battens, and slowly destroying the floor joists beneath.
"The tiles were the problem, not the solution. Whoever fitted this shower never tanked behind the tiles. Every time Mrs. Patterson took a shower, water was migrating into the structure of her home."
The GWS Fix — Stage by Stage
Stage 1: The Strip-Out
We removed every tile, every batten, and every piece of compromised plasterboard. When we lifted the shower tray, the damage was worse than expected. The chipboard subfloor had turned to pulp. Two floor joists showed signs of wet rot extending 400mm beyond the shower footprint. This is the work most bathroom fitters avoid — it's messy, it's time-consuming, and it doesn't photograph well. But it's the only way to do the job properly.
Stage 2: Structural Repair
We cut back the damaged joist sections and sistered new timber alongside. The subfloor was replaced with marine-grade plywood — not standard chipboard, which absorbs moisture like a sponge.
Stage 3: The Tanking System
Here's where we separate ourselves from the competition. Before a single tile went back up, we applied a two-coat tanking membrane to:
- The entire shower enclosure floor
- All walls within the wet zone (up to 1800mm)
- Every corner and junction, reinforced with tanking tape
- The shower tray perimeter, creating a continuous waterproof barrier
The tanking membrane we use is rated for permanent water immersion — the same system specified for commercial swimming pools. Overkill for a domestic shower? Perhaps. But this bathroom will never leak again.
Stage 4: The Finish
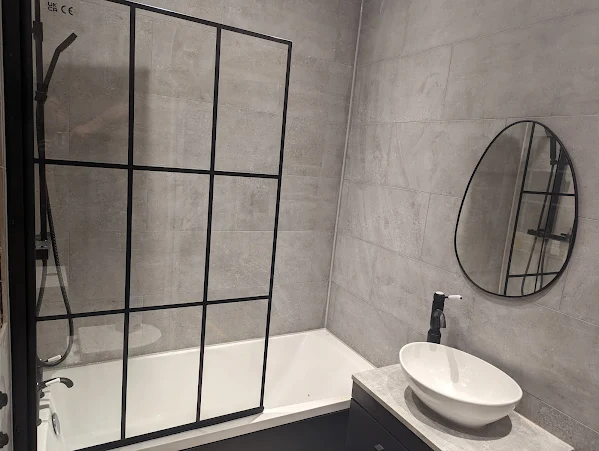
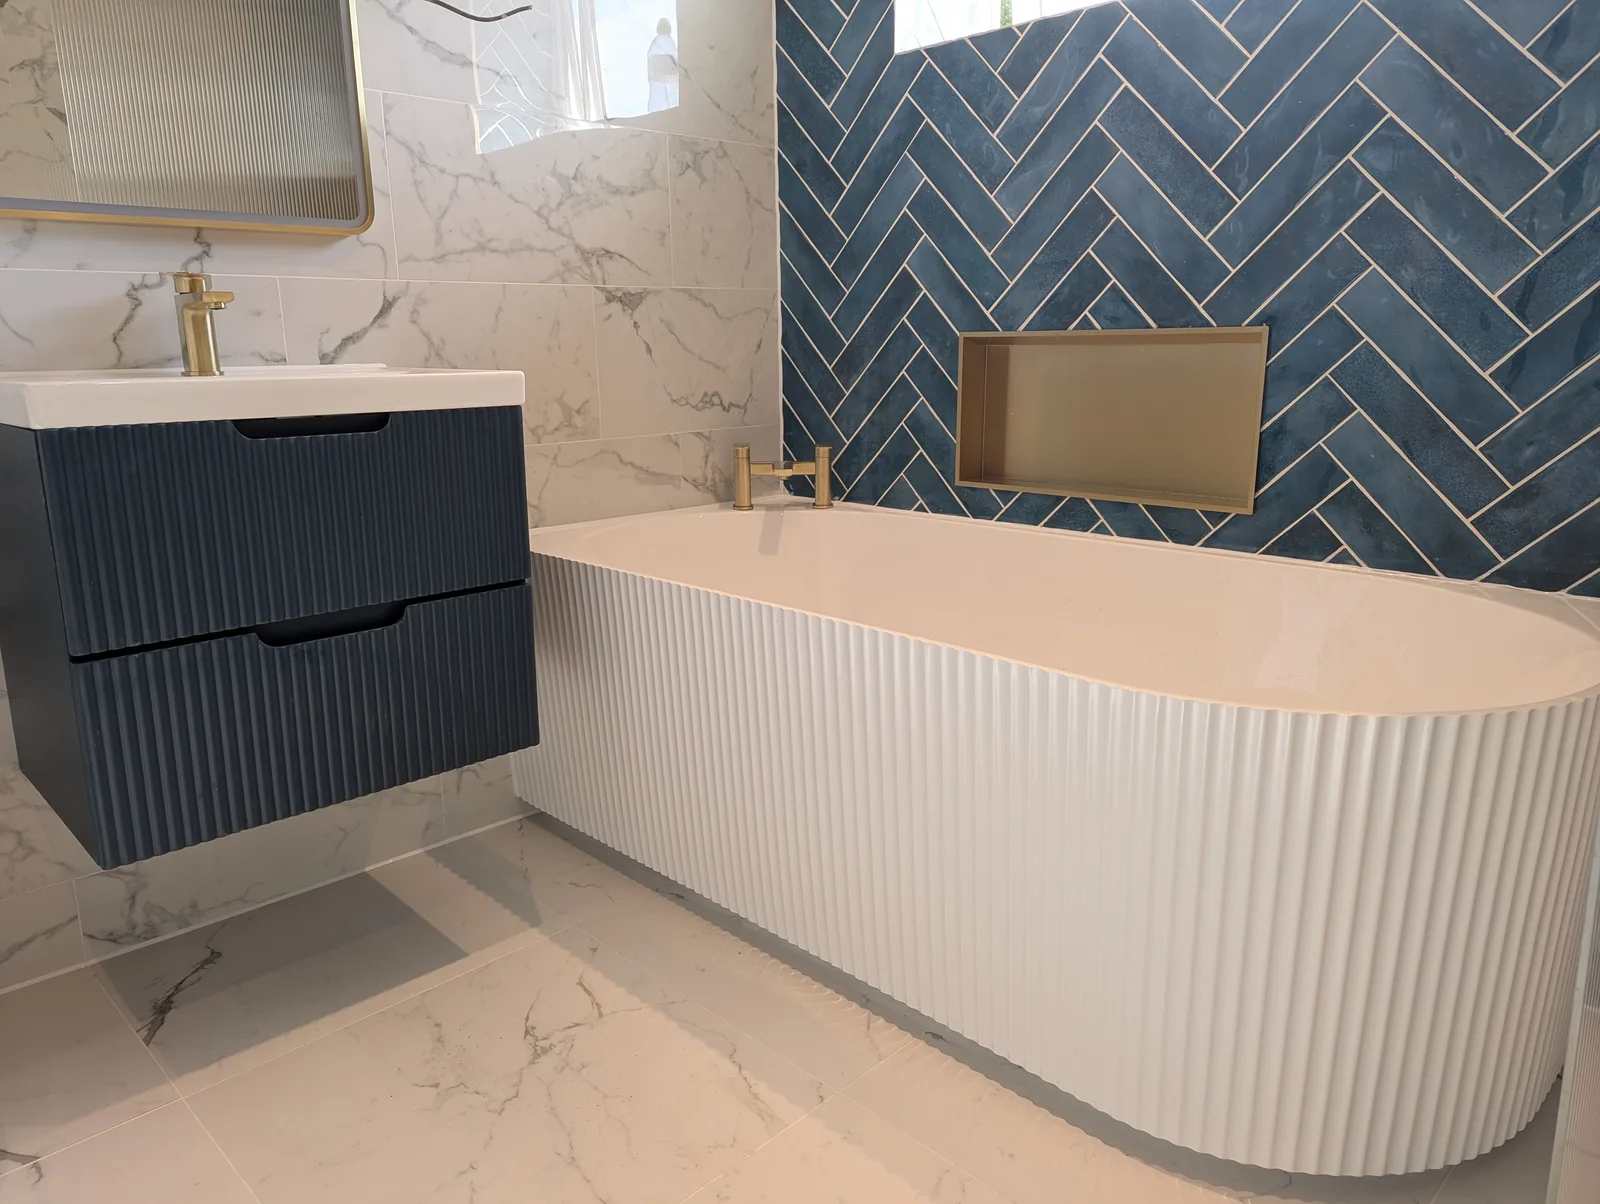
With the waterproofing complete, we installed a solid resin shower tray with integrated waste, large-format porcelain tiles (fewer grout lines means fewer failure points), Schlüter tile trim at all exposed edges, and premium silicone rated for wet environments.
The Outcome
Time on site
8 days
including structural repairs
Guarantee
5 years
on all workmanship
Result
Bone-dry
and it will stay that way
Six months later, Mrs. Patterson sent us a message: "The damp smell is completely gone. I wish I'd found you first."
Why This Matters
The "invisible" leak is more common than most homeowners realise. A bathroom can look perfect on the surface while water silently destroys the structure behind it. The difference between a bathroom that lasts 5 years and one that lasts 25 comes down to what happens before the tiles go up.
At GWS, we don't cut corners. We don't tile over problems. We fix them properly — even when it means delivering news the customer doesn't want to hear. That's the GWS Standard.
Suspect a Hidden Leak in Your Bathroom?
A damp smell, a discoloured ceiling below the bathroom, or grout that never quite dries are the classic signs. The longer it's left, the more of the structure it takes with it.
Get It Fixed Properly, Once
If something about your bathroom doesn't seem right, George will take a look and tell you the truth about what's going on — even if it's not what you want to hear.